


Drill into timber, soft metal and hard materials including brick and concrete with the RYOBI 18V ONE+ Hammer Drill.


Building a raised garden bed is one of the easiest, quickest and cheapest ways to add colour (flowers) or convenience (veggies) to your backyard. It’s a great first-up project for DIYers, too, because it requires few materials and only a small number of tools.
Below is a step-by-step guide on creating a raised garden bed measuring 2.4m x 1.2m x 400mm from readily available treated pine sleepers (200mm x 50mm x 2.4m).
NB: Another popular material is corrugated steel. These are available in kits in predetermined dimensions. If building your own, larger sized bed, this will require additional timber or steel framing to keep it rigid over long or wide garden beds. This type of raised garden bed is not covered in this guide.
A 2.4m x 1.2m x 400mm bed can be built from treated pine sleepers (two sleepers high) in around half a day. First, choose the location, clear and level the ground, cut the sleepers to length, screw the corners together, then fill with a layer of organic matter topped with quality garden soil mix. Cost estimate: $150 to $350 (including plants).
Apart from having to make fewer cuts by using 2.4m sleepers, this size also provides ample space for a variety of decorative plants or vegetables. Being 1.2m wide allows you to reach the middle of the garden from either side. If one side of your raised garden bed is against a wall, you may consider reducing the width of the structure.
A common mistake many gardeners make is constructing a raised garden bed that is too high – the higher the sides, the more soil you will need to fill it. As a rule, 300mm high is fine for herbs and salad plants, 400-500mm for root vegetables, and 600-800mm if you want to garden without too much bending or kneeling.
Older CCA-treated pine sleepers (copper, chromium and arsenic) with a green tinge are not recommend for veggie gardens, especially root vegetables. It is advised that these types of raised garden beds should be lined with heavy-duty plastic to avoid soil contact with the timber. More recently, brown-tinged ACQ treated pine sleepers (copper azole) are considered a safer alternative. For sleepers in contact with the soil, which will be most of them, look for an H4 rating. H5 and H6 are for more severe exposure conditions.
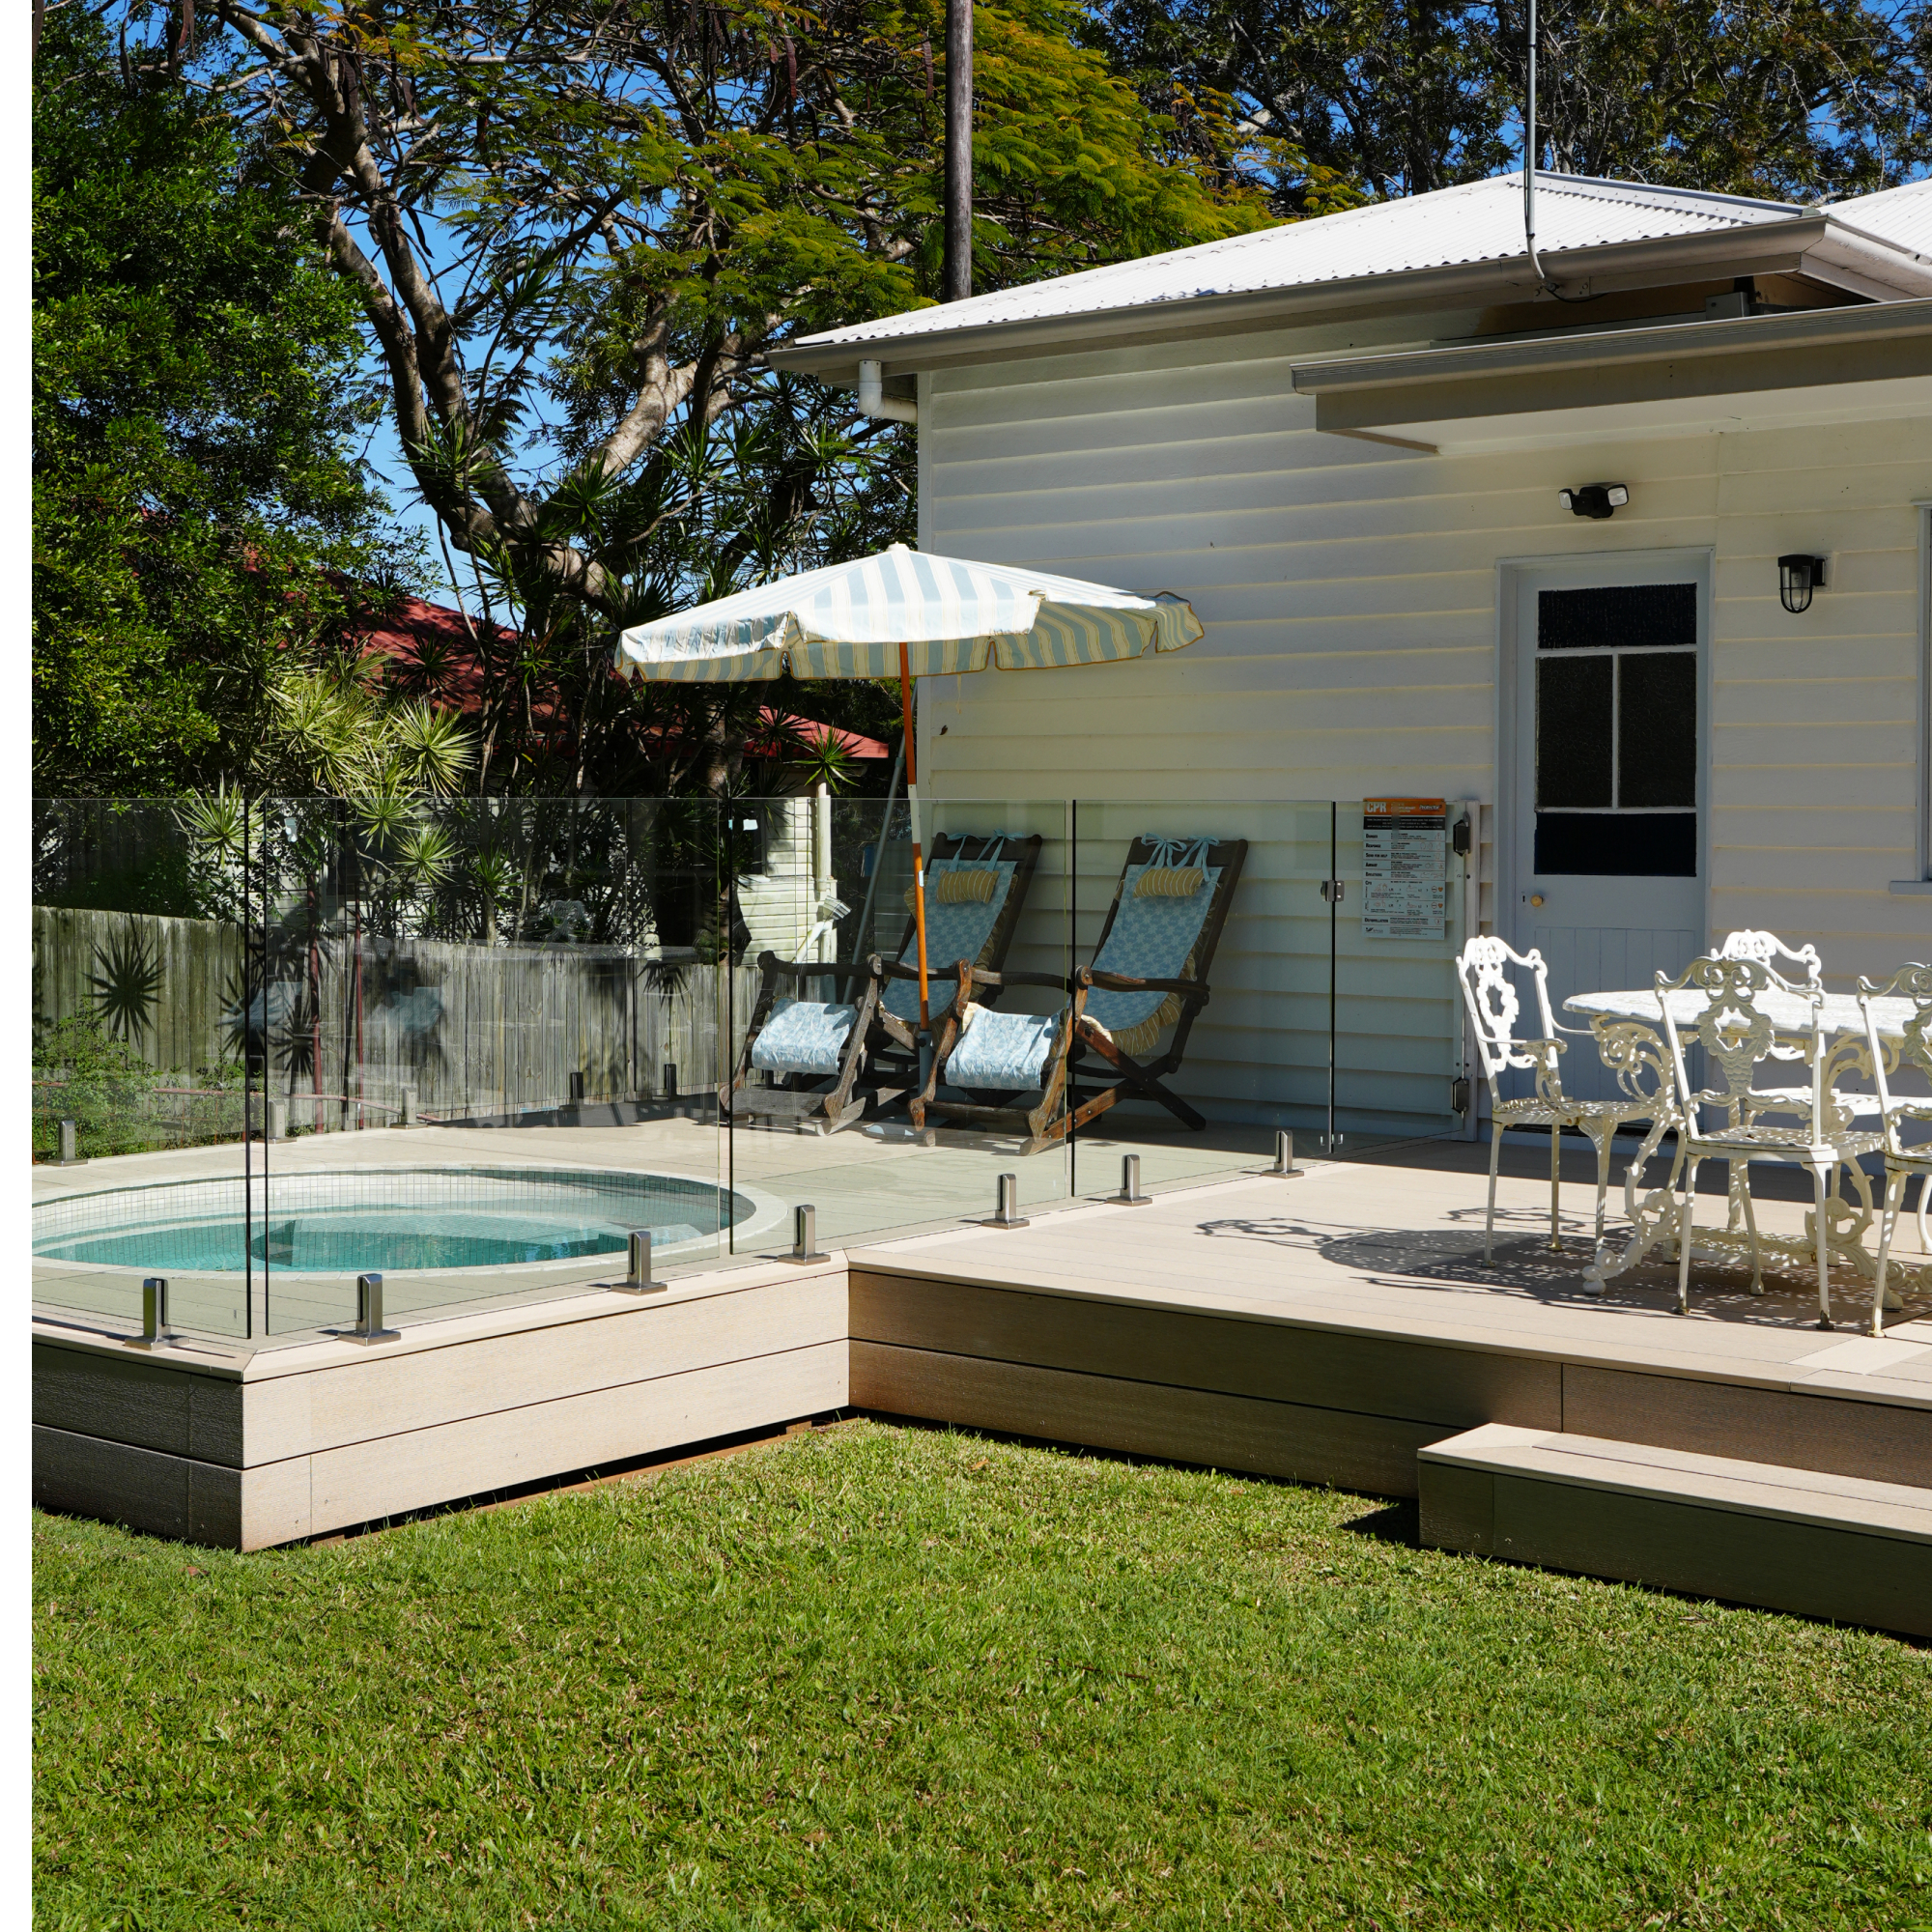
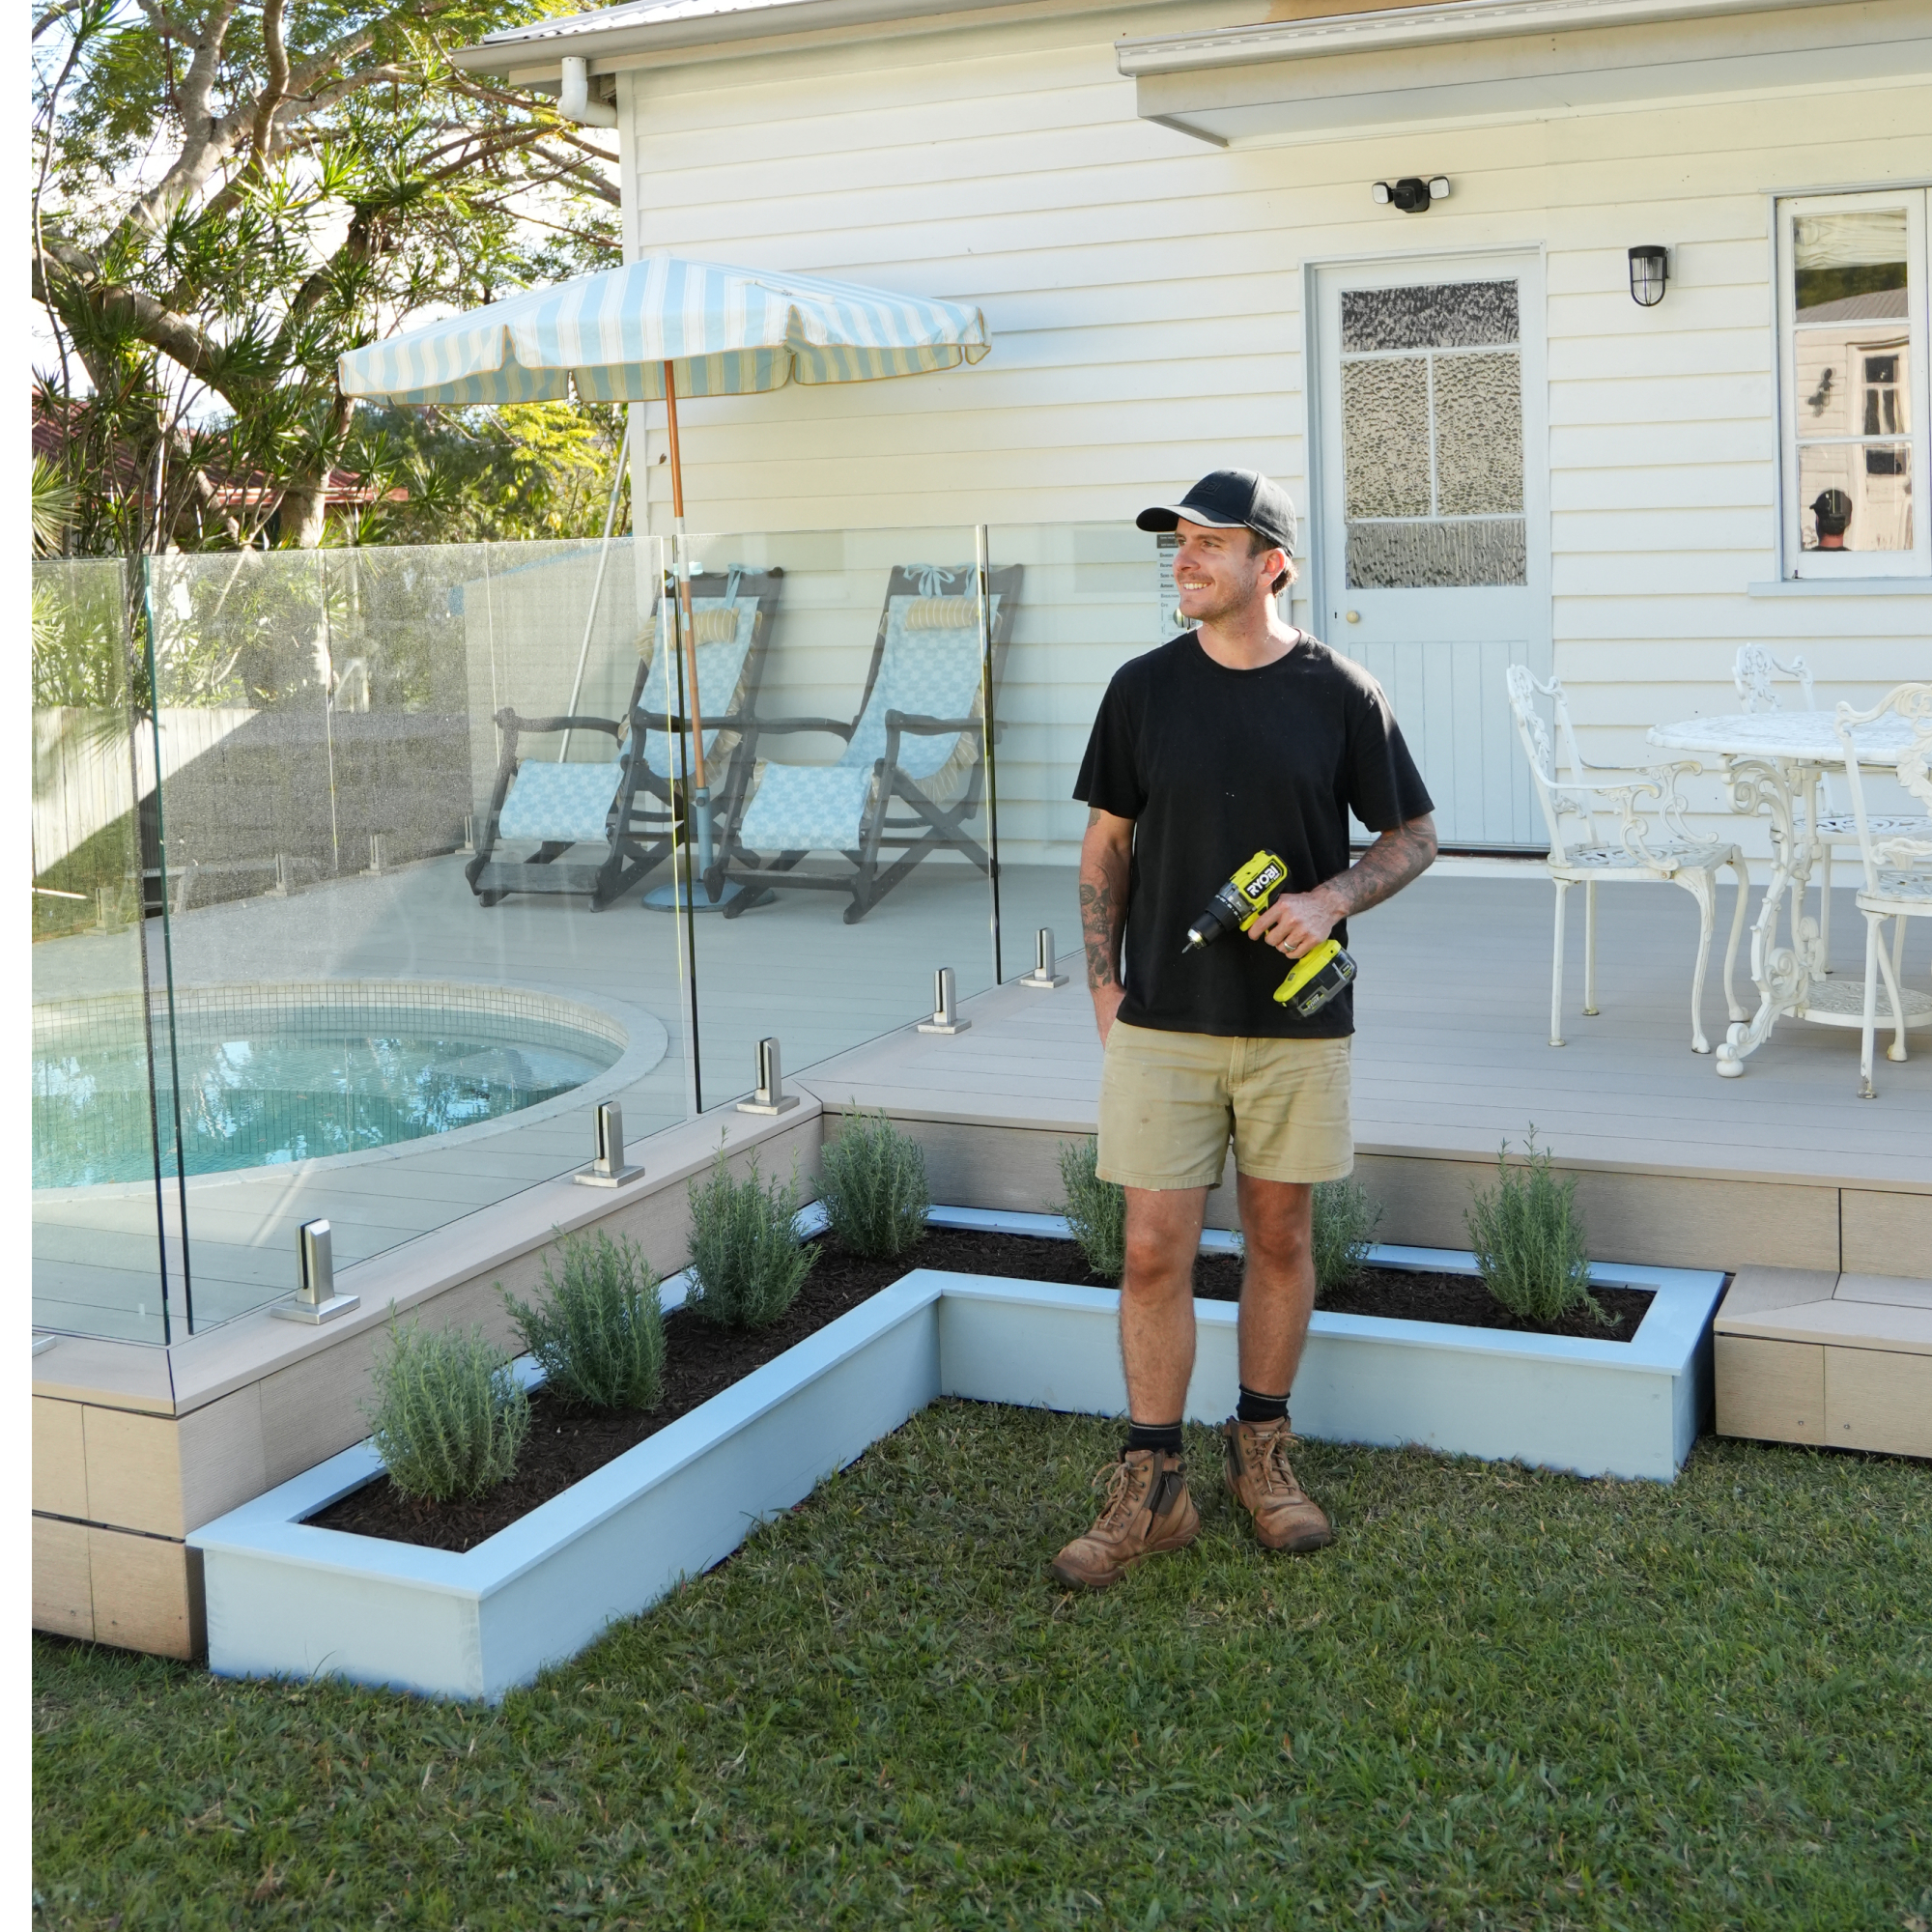
Project by Jakeoneill
These young homeowners wanted their backyard deck to look “more inviting”. They decided building a couple of simple raised garden beds would do the trick.
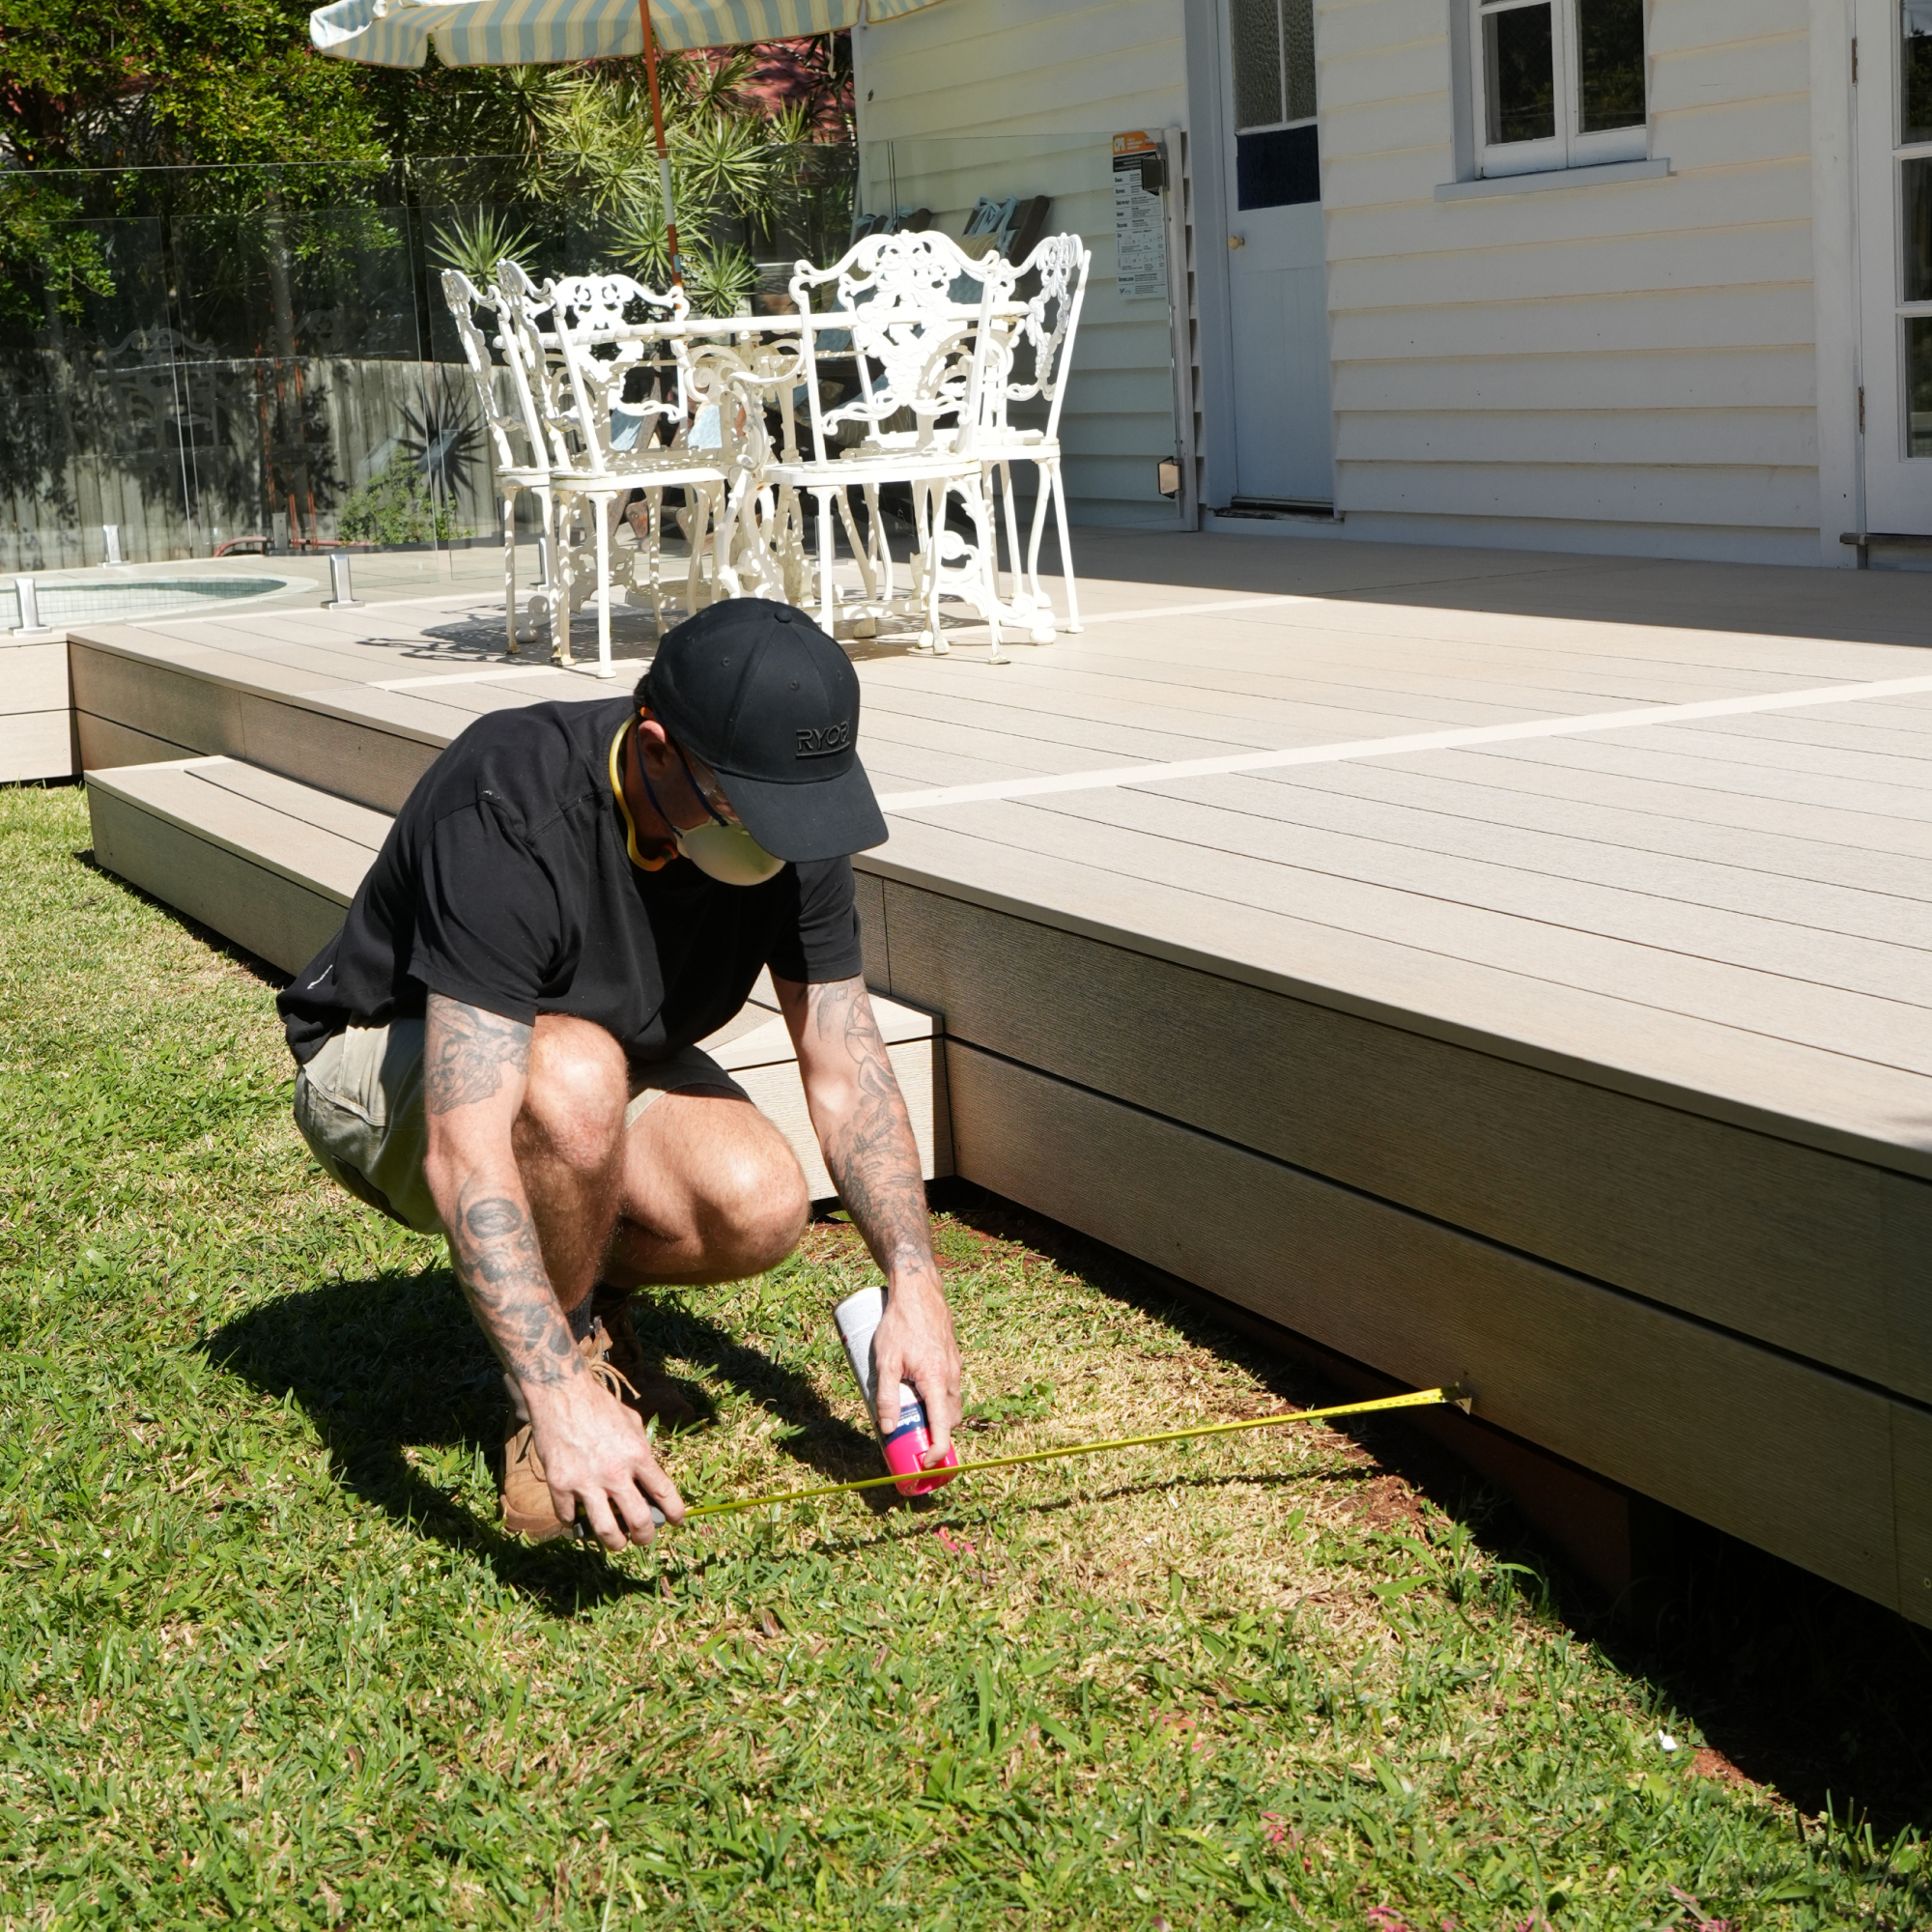
Once you have chosen a location (one that gets at least six hours of sunlight if you’re growing vegetables), and have all the materials and tools at hand, it’s time to get started on the build. Mark the outline of the bed with stakes and string or line-marking spray.
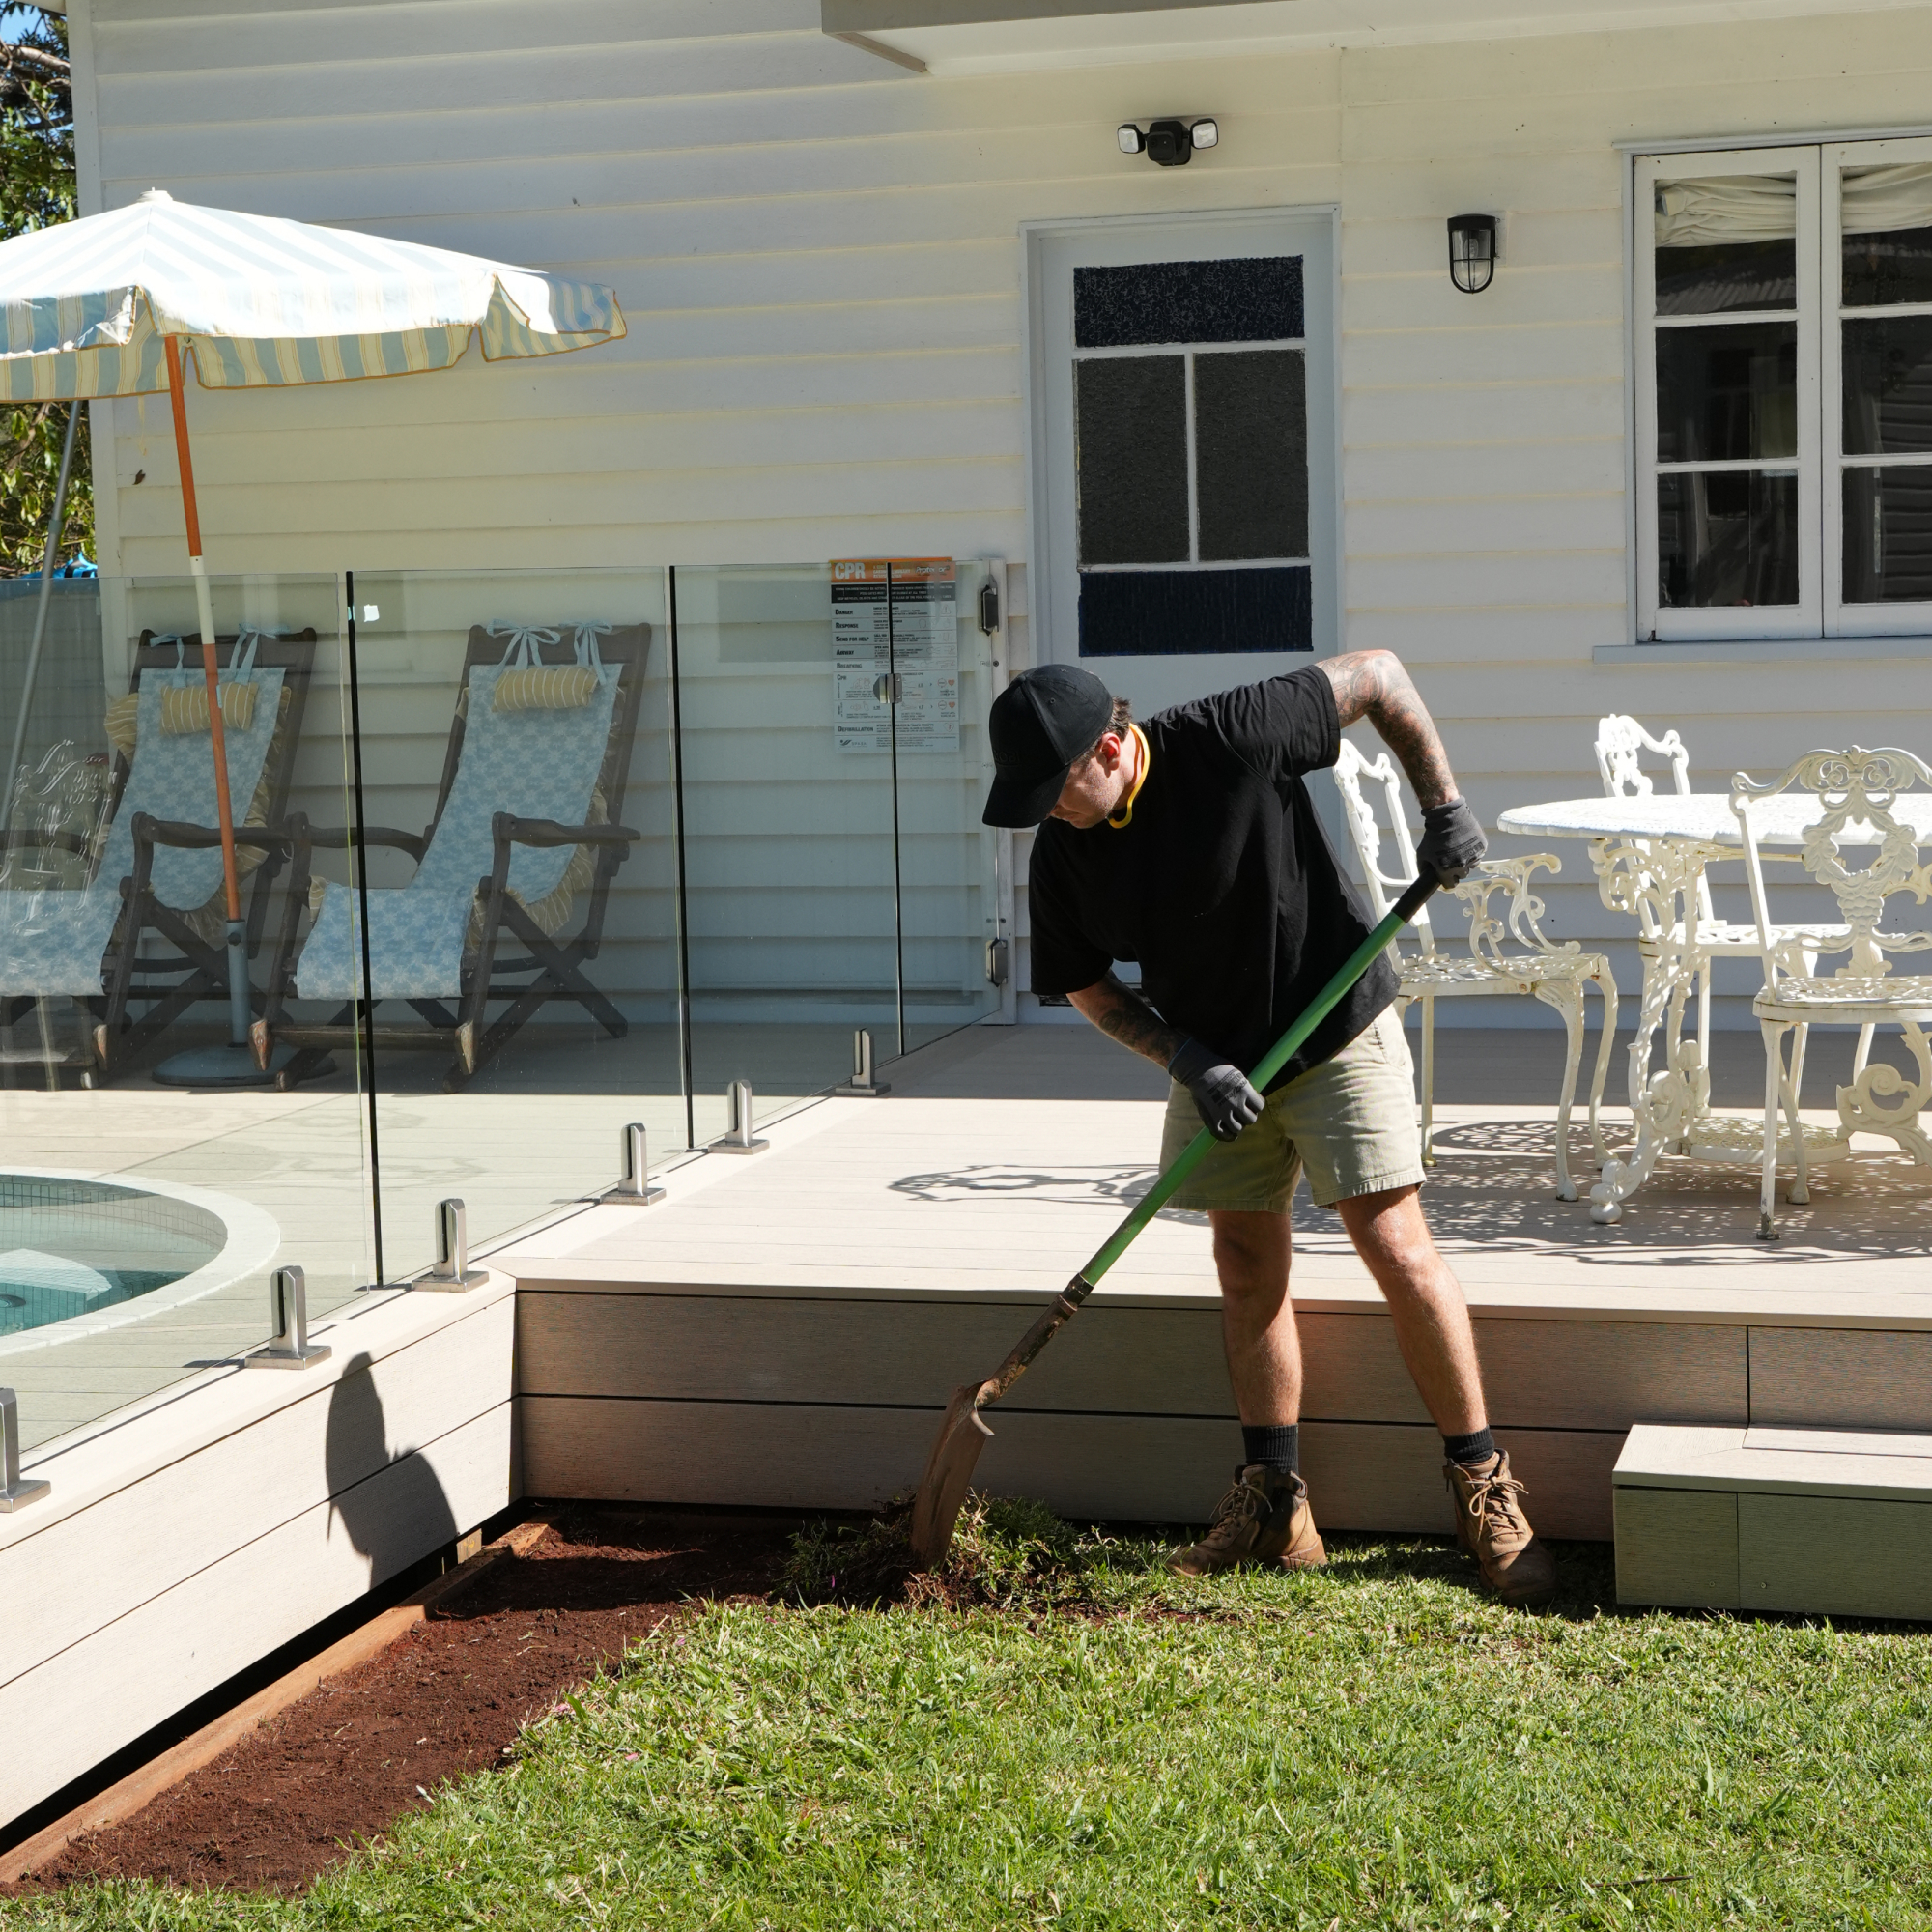
Clear and level the area with a shovel (for the high spots) and fill any low spots with gravel and sand. It’s often easier and cheaper to dig out the low spots rather than to have to pack up a large area. If placing your raised garden directly over lawn, a thick layer of cardboard will suppress grass and weeds from growing through.
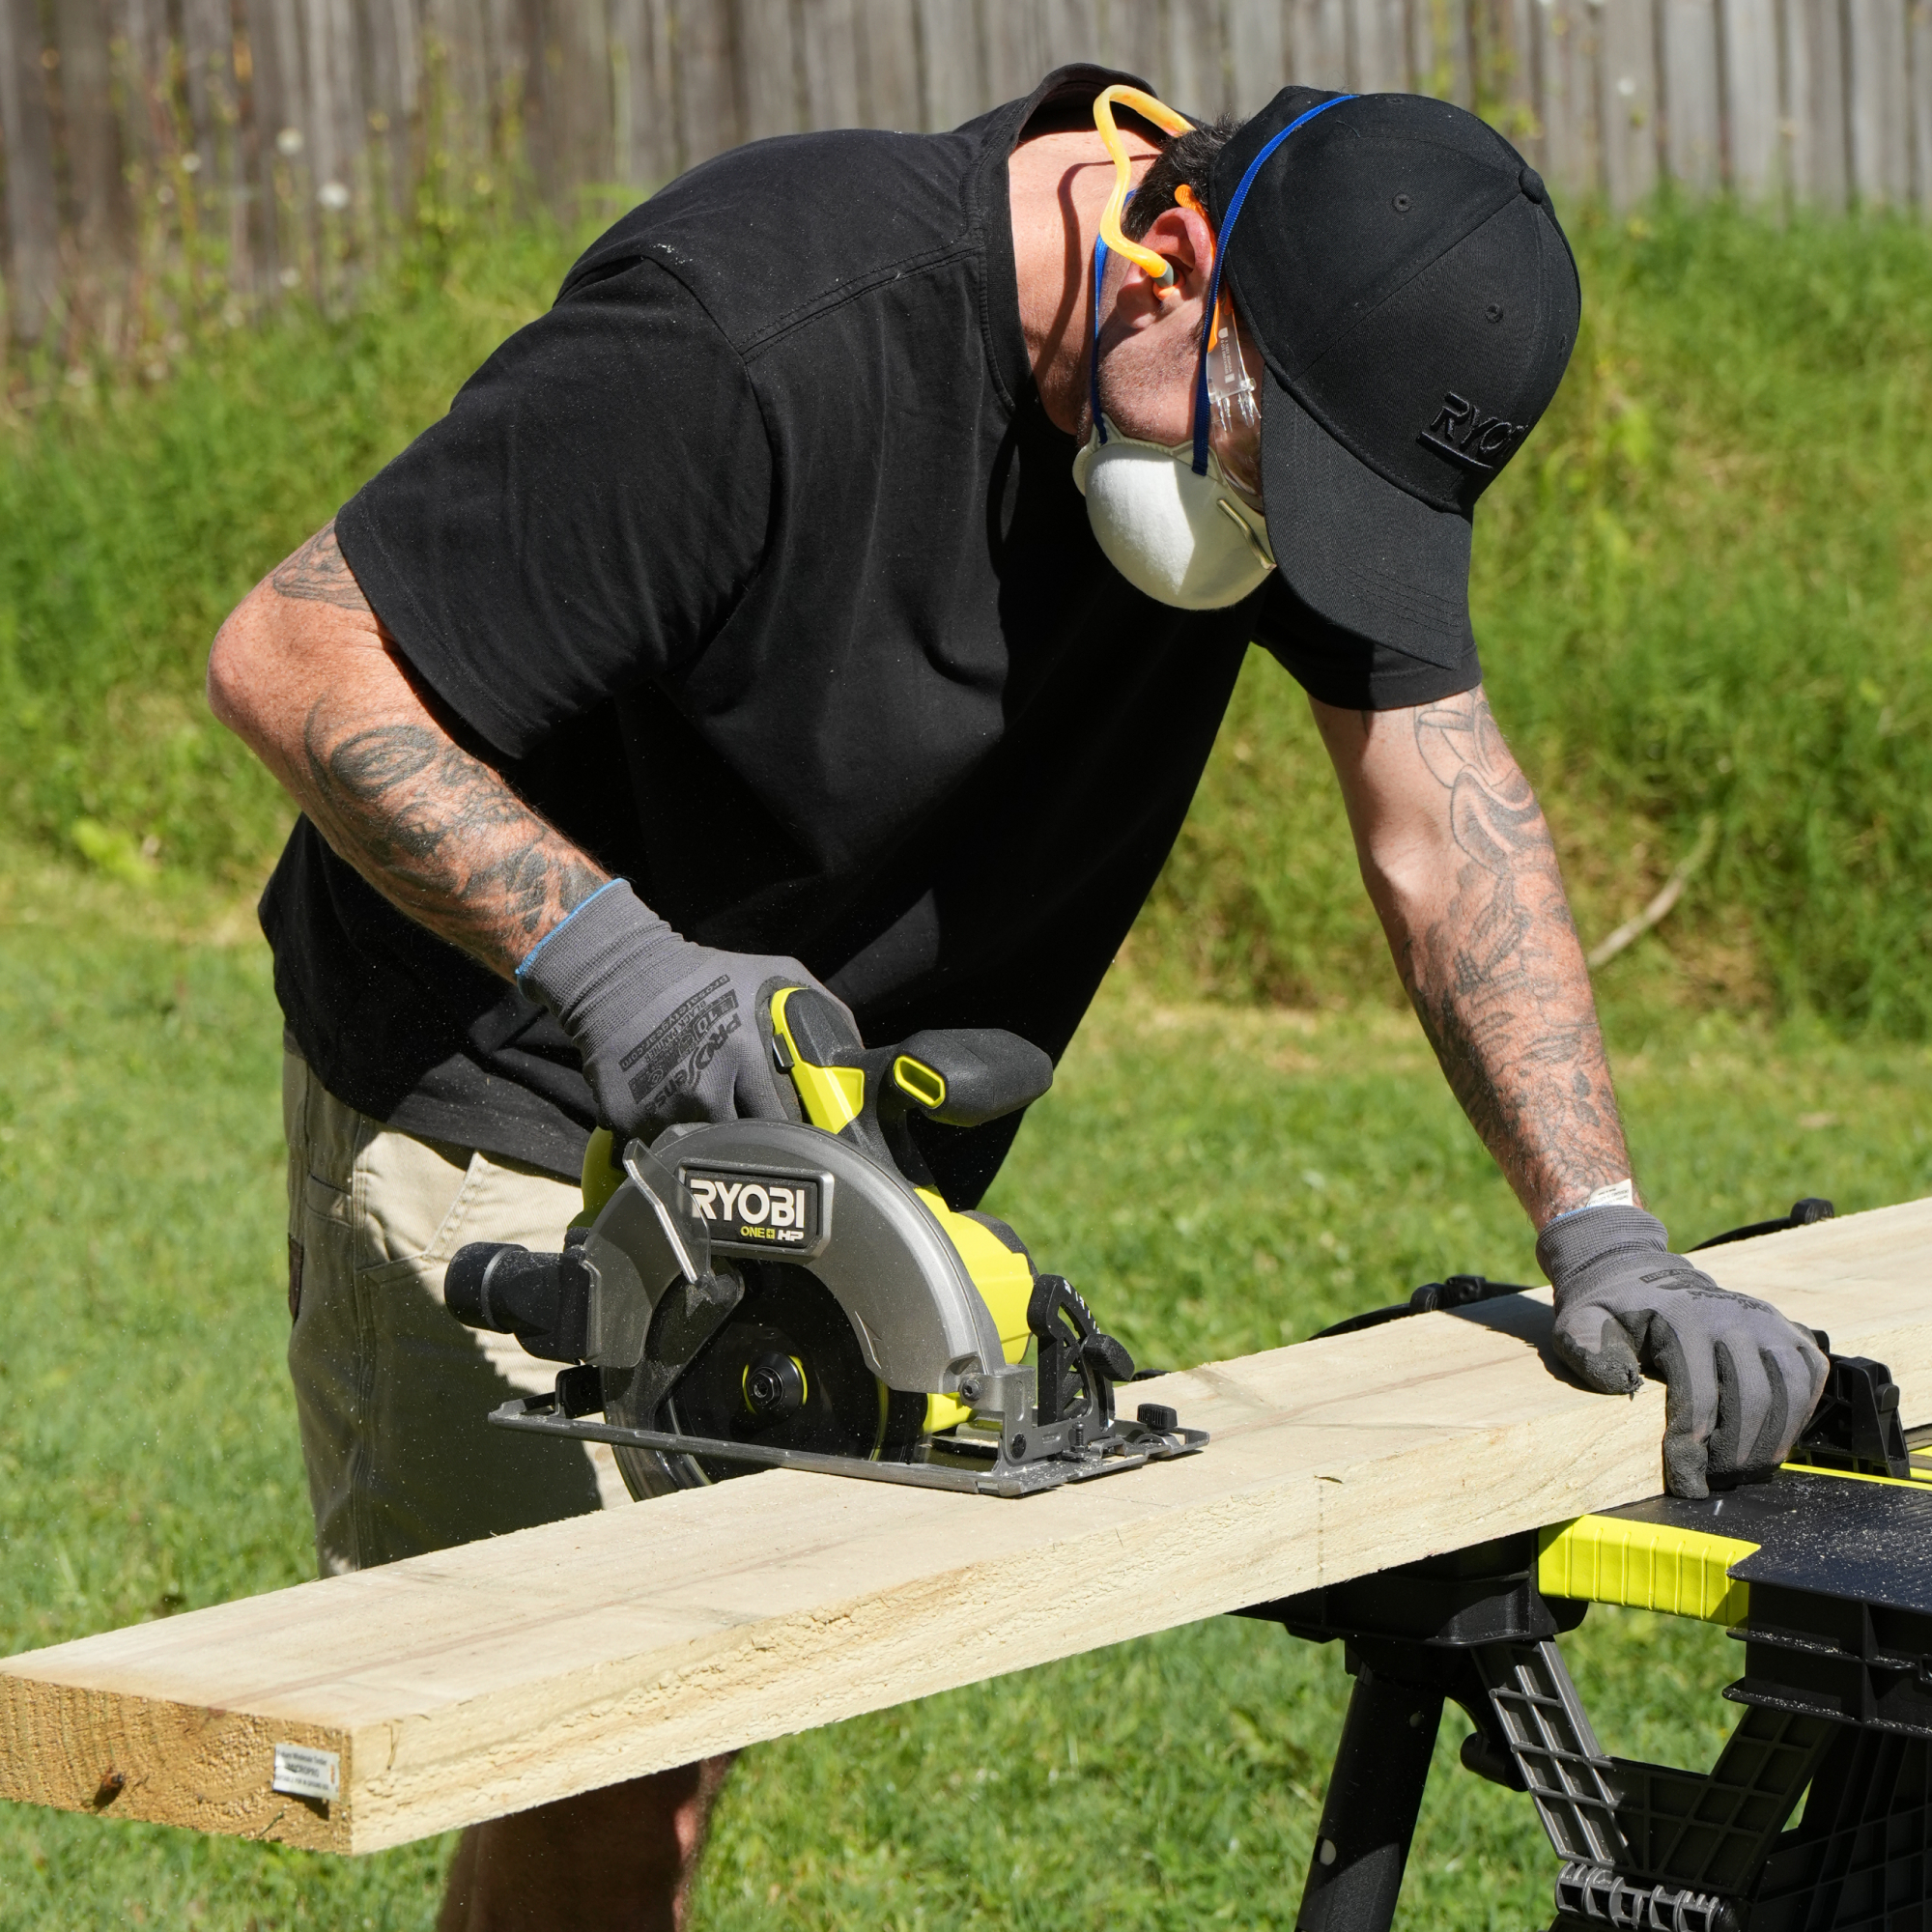
While it is possible to cut sleepers with a hand saw, this will be hard going. A circular saw will make light work of cutting the 120cm sides to size. After measuring, use the square to mark the sleepers and use it as a saw guide to cut across the sleepers at the correct length.
TIP: Do a ‘dry fit’ to make sure your pieces all go together.
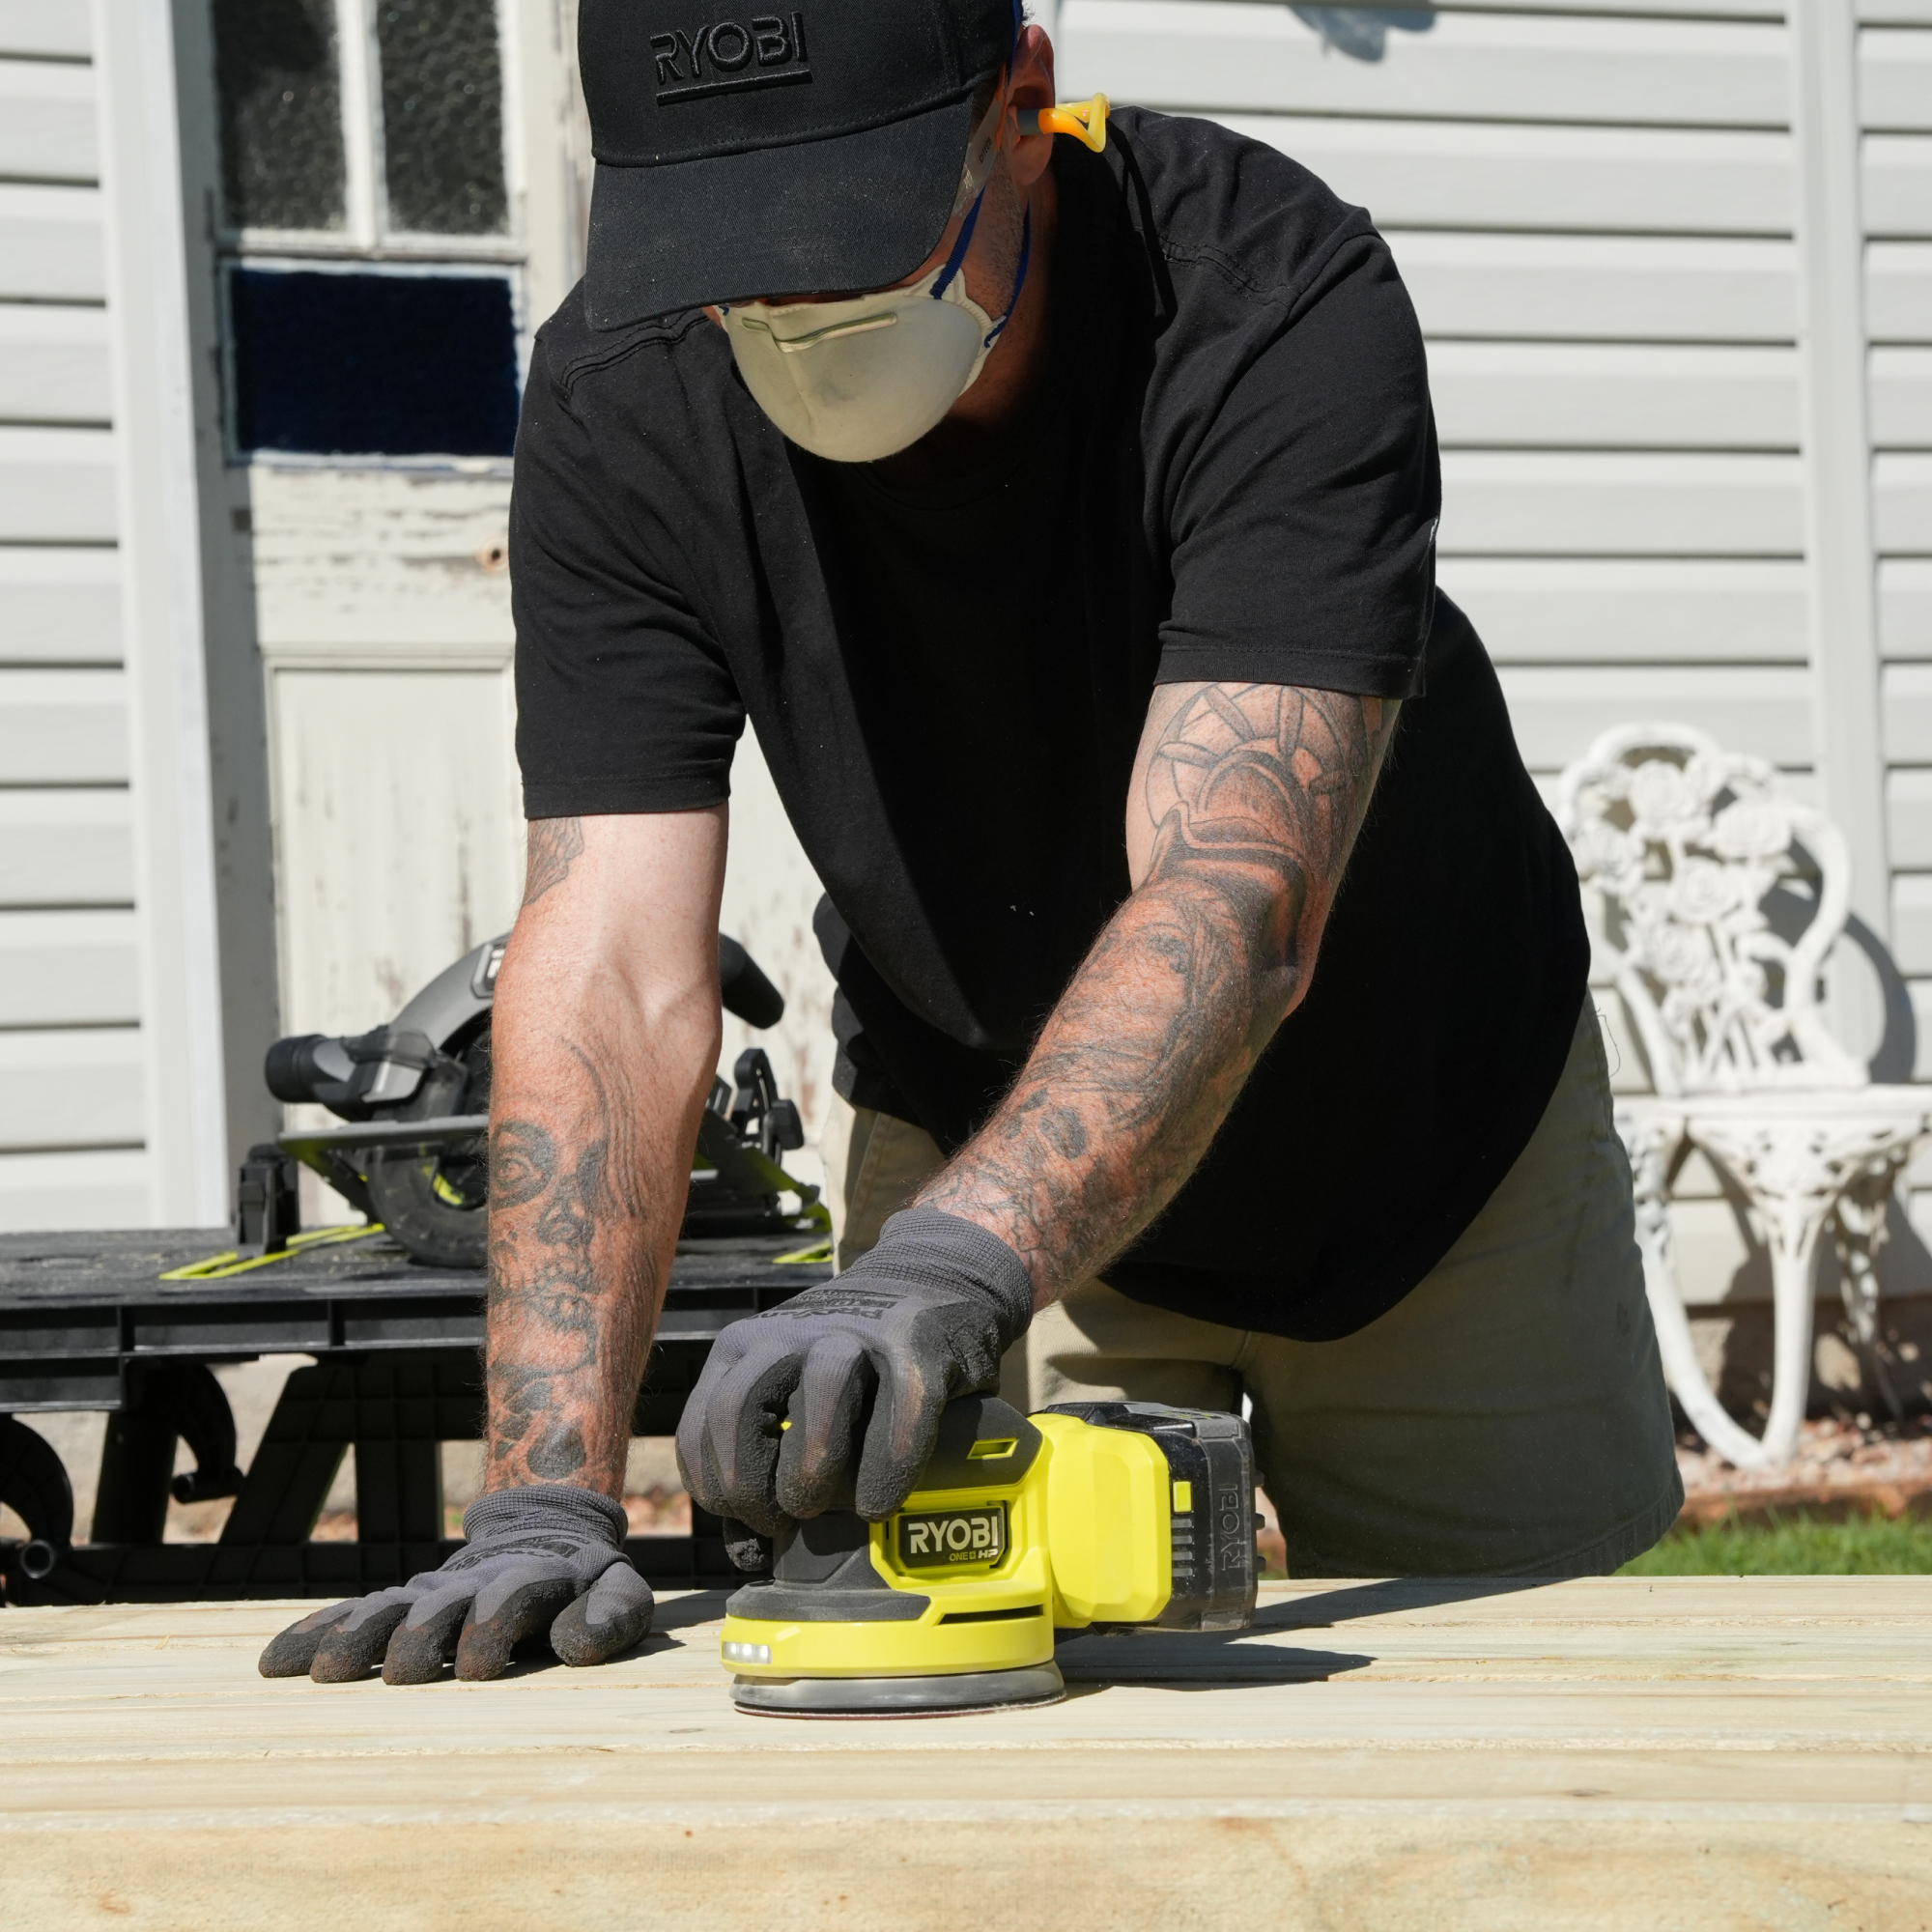
Once the pieces are all cut to the correct size, give the , a quick sand to remove the rough finish and larger imperfections (and splinters!) using a RYOBI random orbital sander, to prepare them for painting or staining.
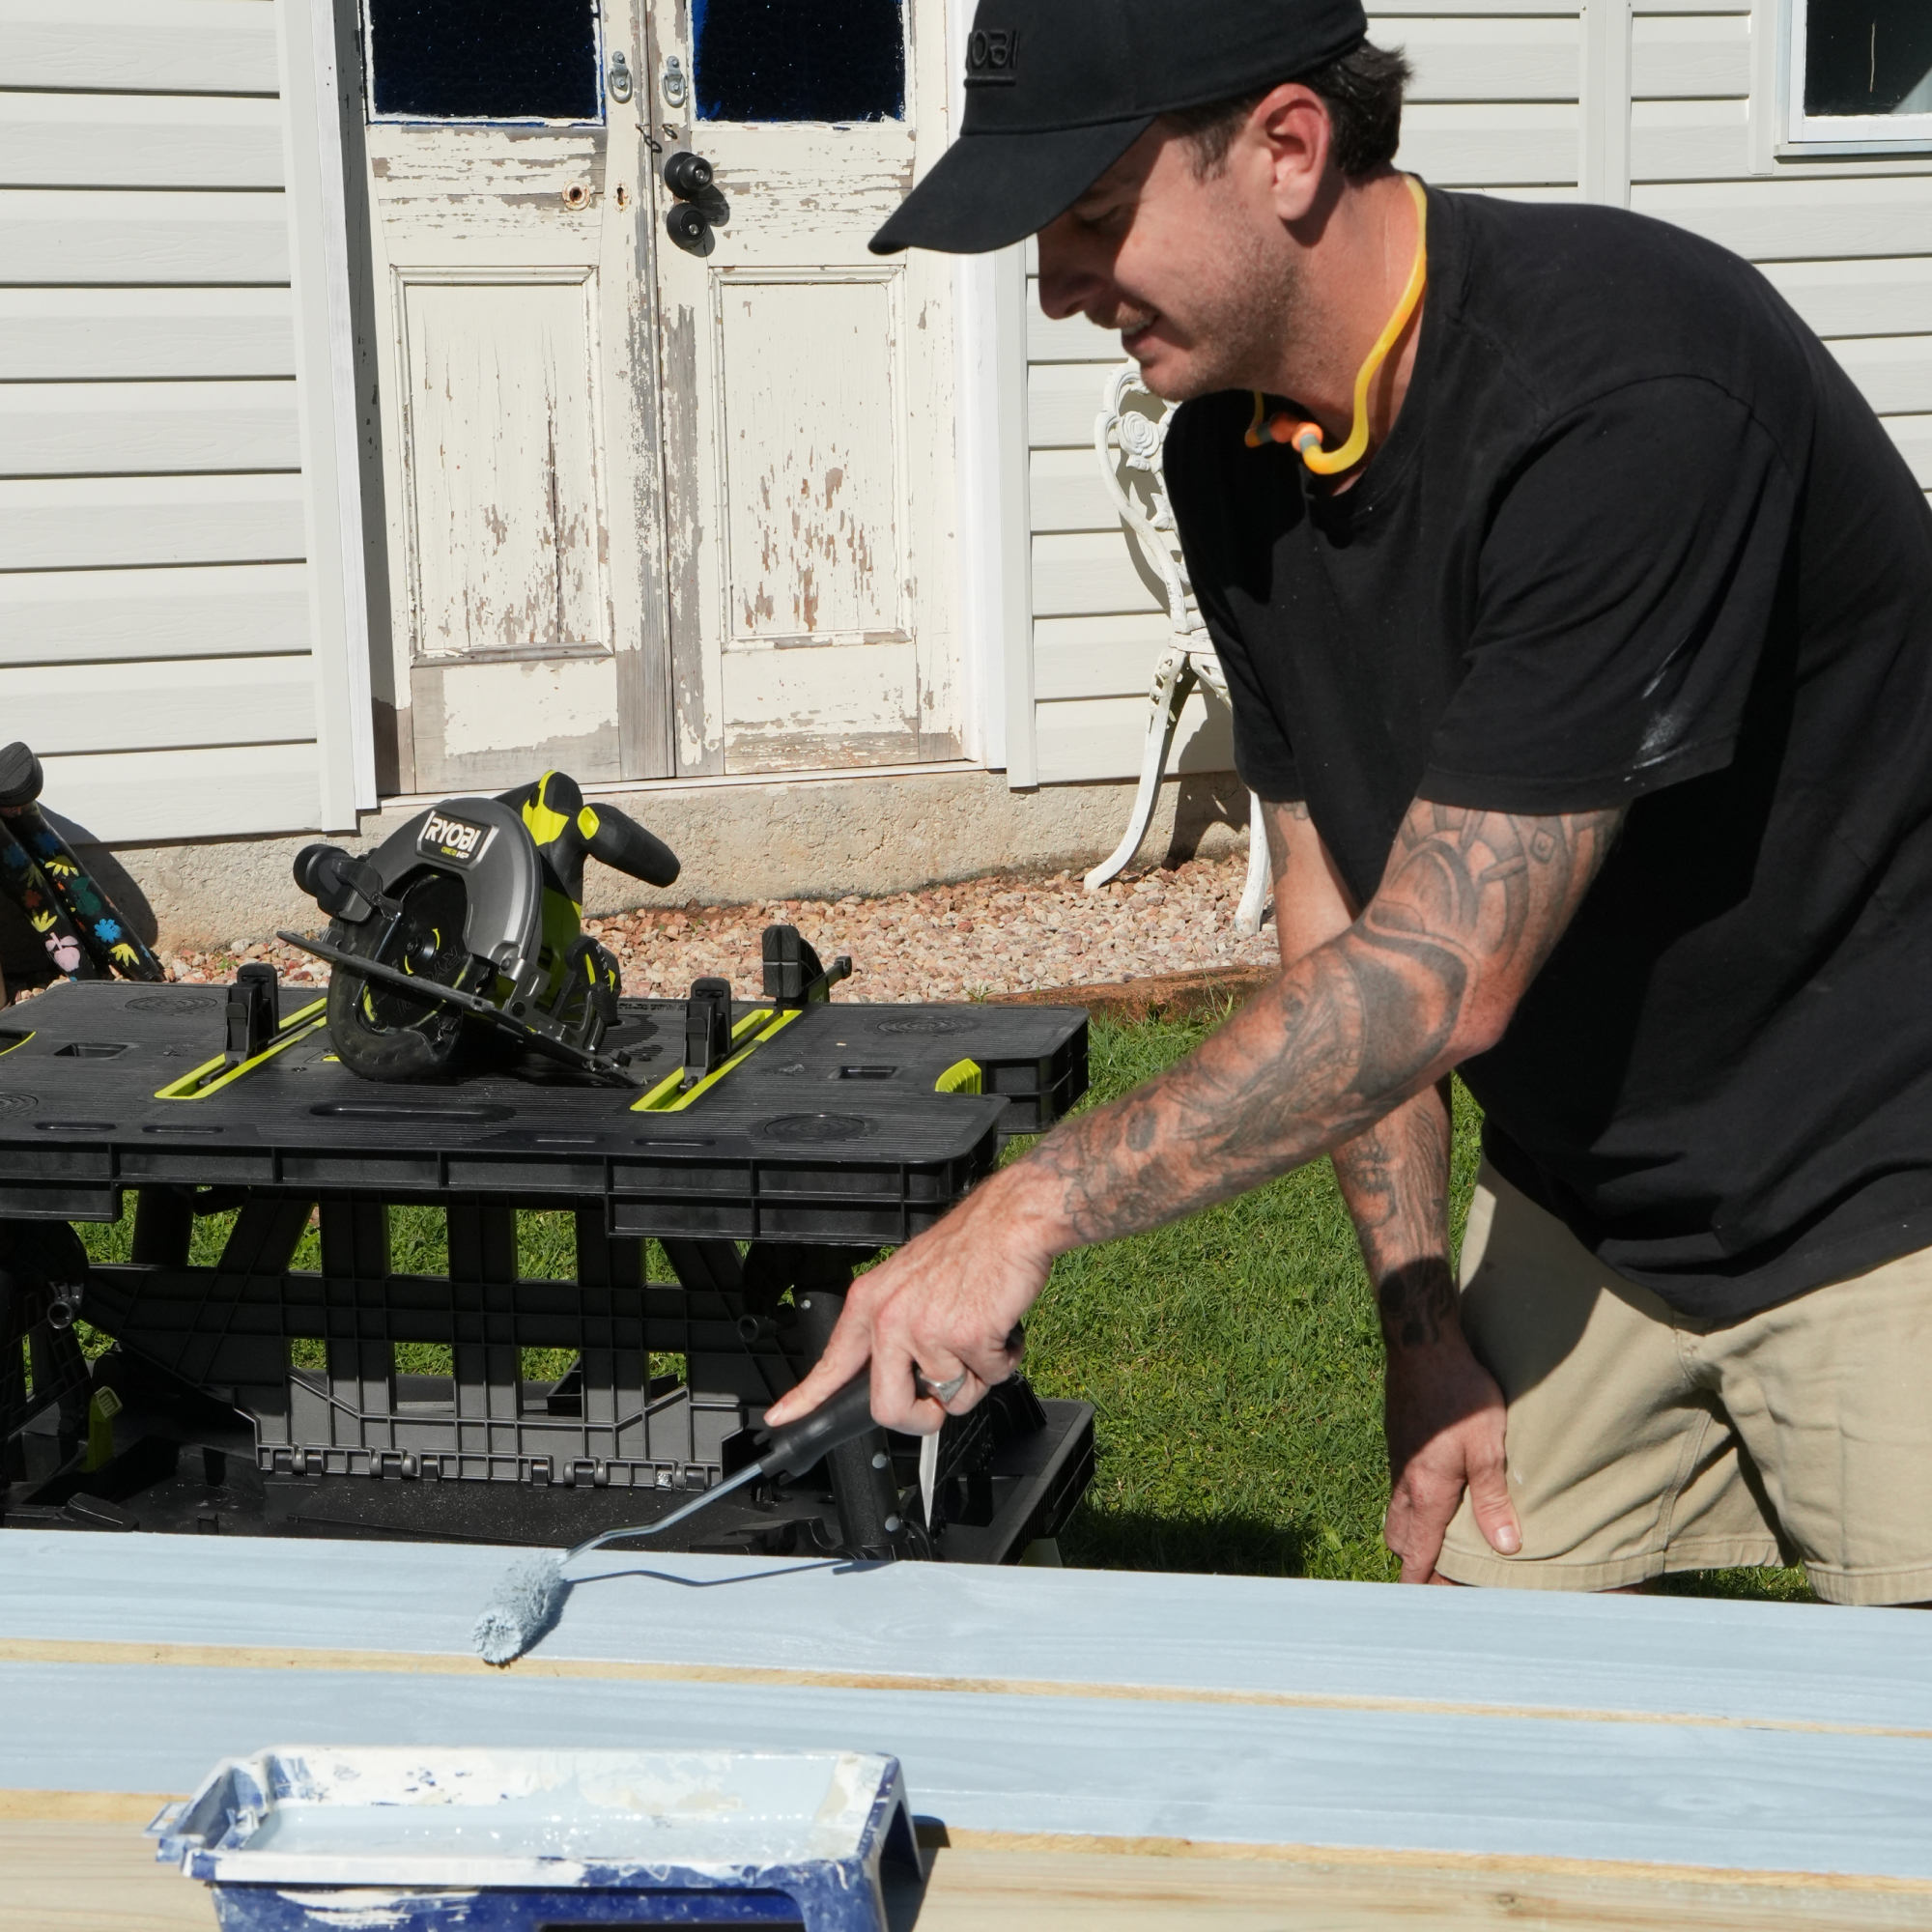
Applying paint or stain to rough timber, like sleepers, is best done with a roller. It’s faster because it applies a thicker coat and gets into all the tiny cracks, chips and imperfections of the timber surface.
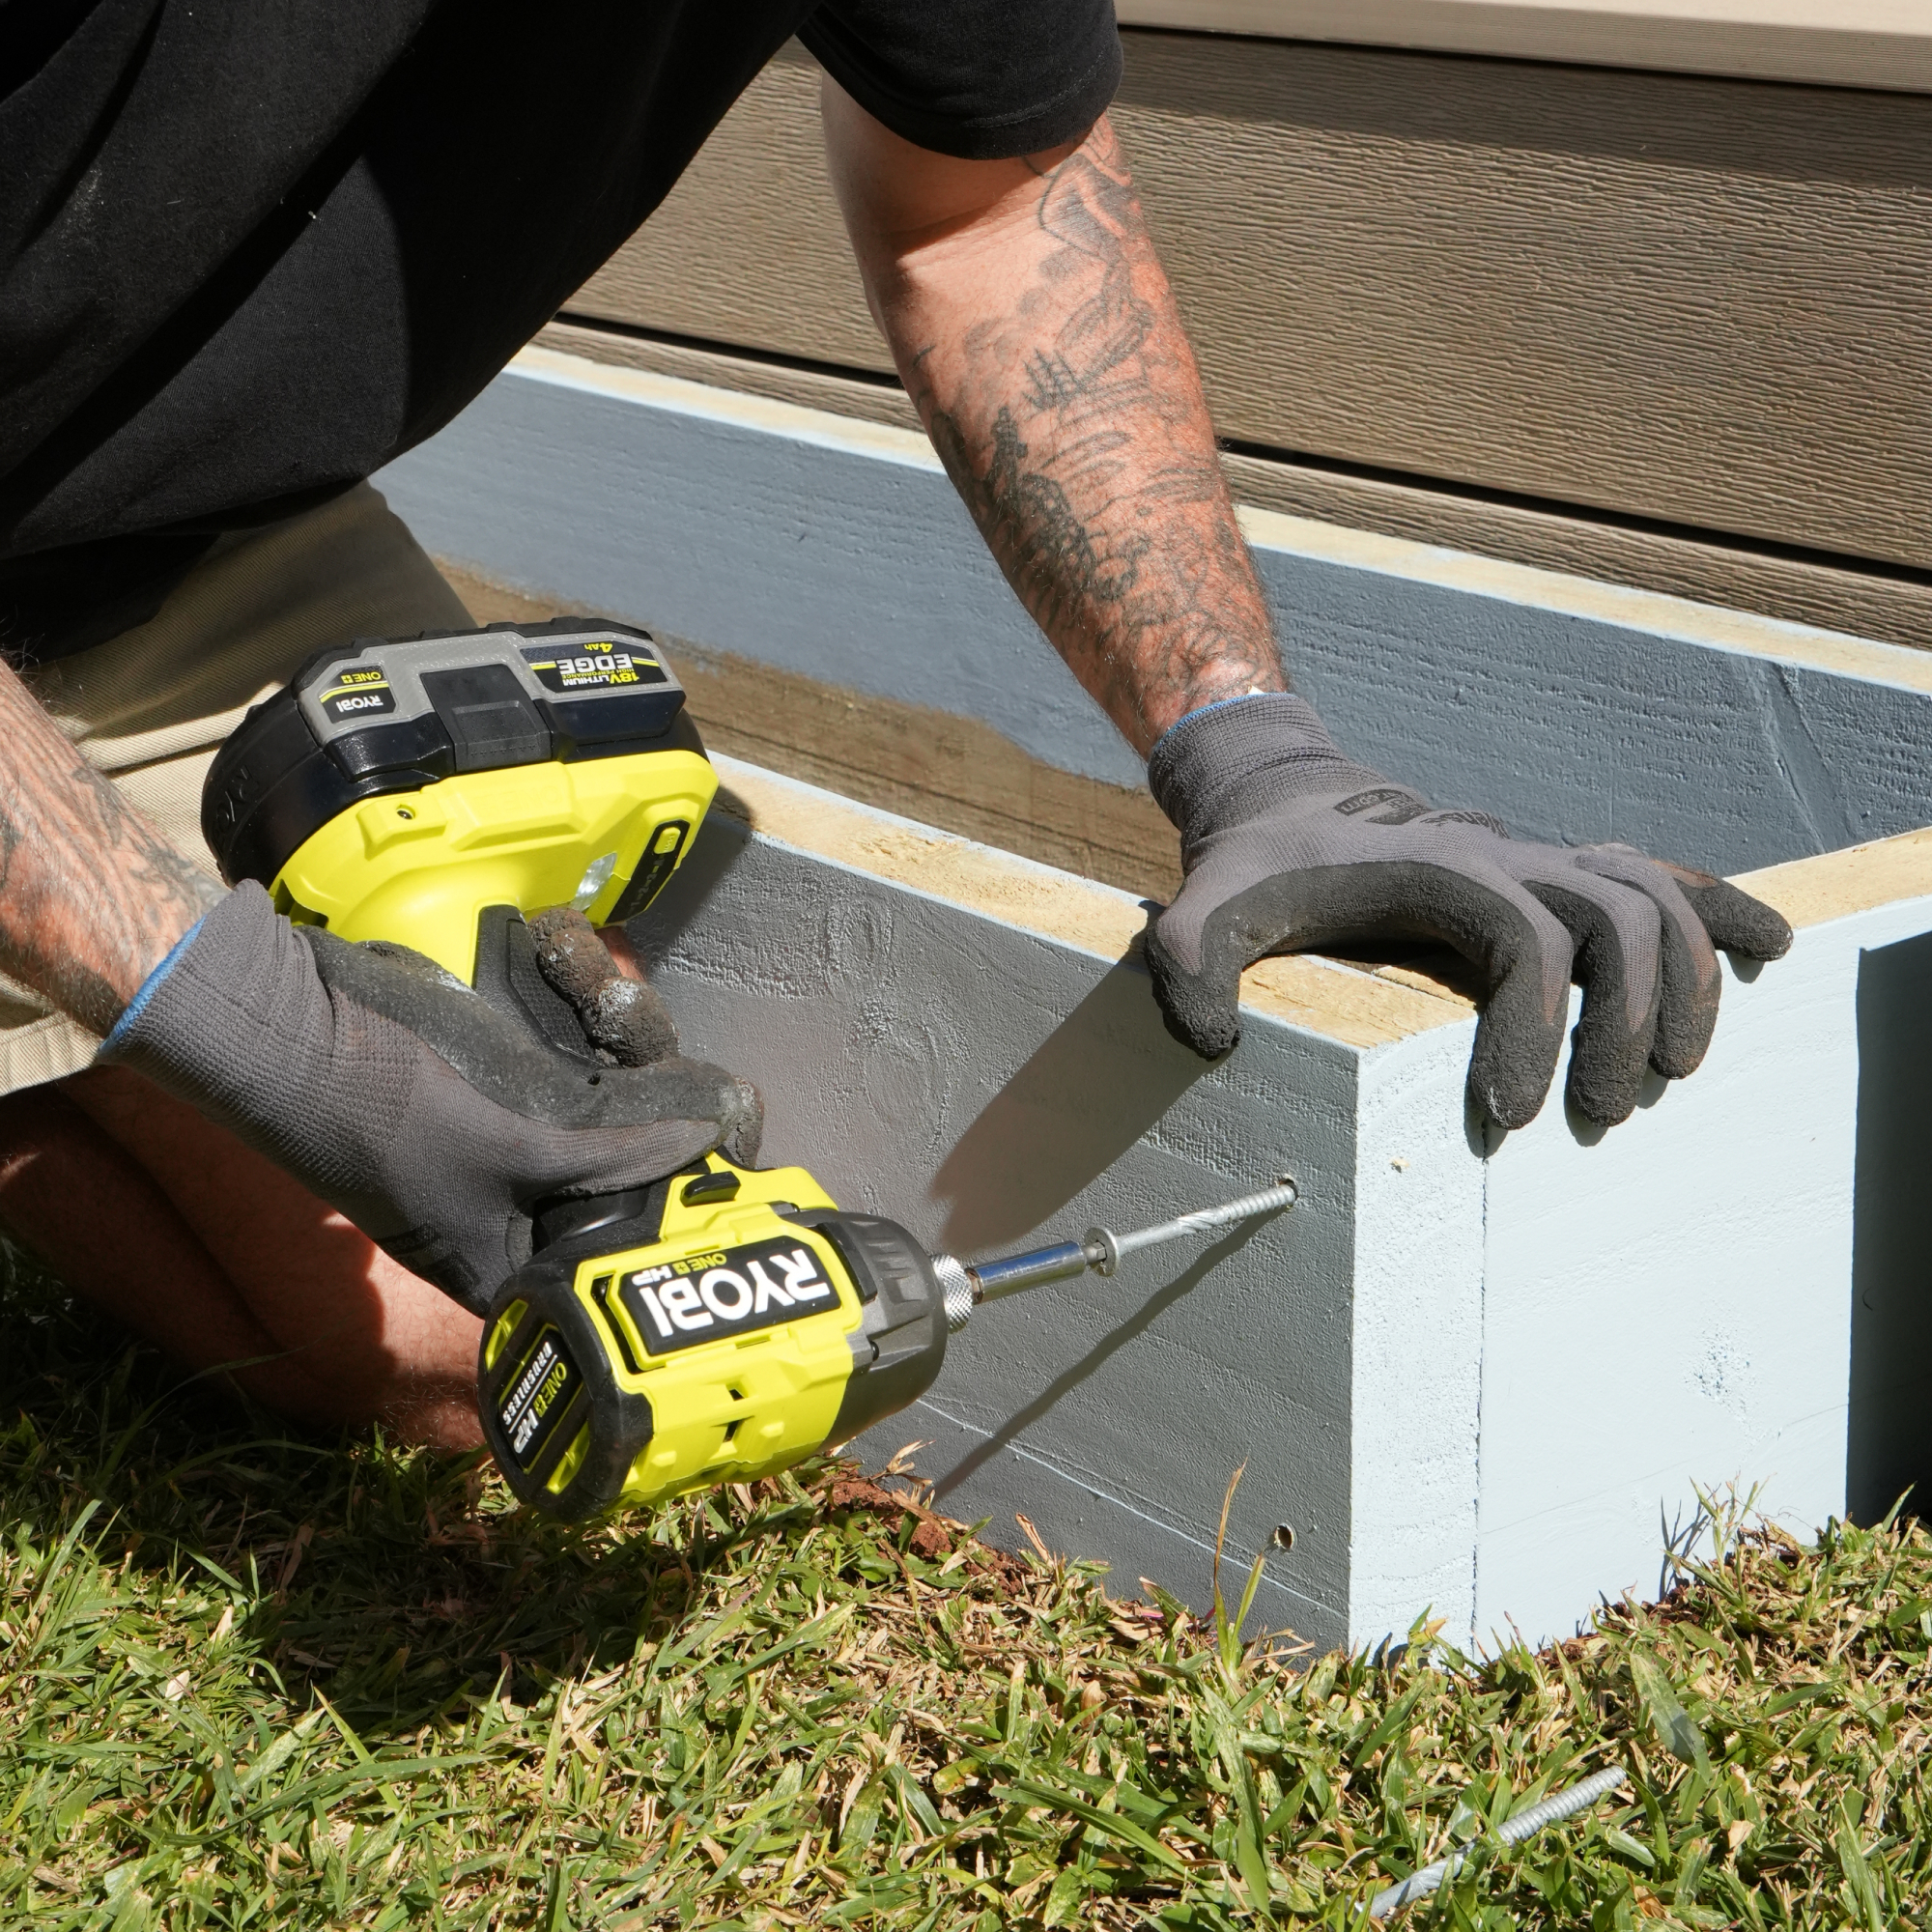
Drill a pilot hole for the screw slightly smaller than the diameter of the galvanised screws you will use to secure the sleepers together. Pilot holes help protect the timber from splitting, especially near the cut ends.
Typically, 100mm 10-12g galvanised screws or ‘treated pine screws’ are appropriate for fixing 50mm pine sleepers together. With an impact driver (great for longer and larger screws) secure the corners.
For longer raised garden beds that are more than one sleeper high, it might be a good idea to strengthen the corners, either with metal or timber garden stakes. Attach them to the inside corners using the same method as above.
If using more than one course of sleepers, stagger the joints like brickwork to avoid unnecessary weakness in the long sides of your raised garden bed.
TIP: Keep checking for level after adding more sleepers.
If you have a stacked sleeper wall, use a stapler to attach heavy-duty plastic to the inside walls of garden bed. This will help prevent soil and water for leaking out between the gaps, which can stain the exterior walls. Don’t line the bottom. This will allow moisture to drain through the bed and worms to access the fill.
Create the bottom layer of fill with coarse organic matter such as branches, prunings and cardboard; add a middle layer of compost and manure, and top it off with 300mm of quality vegetable soil mix. This avoids paying for a full bed of premium soil.
TIP: A garden shredder turns prunings into the bottom layer.
Regardless of whether you’re planting flowers or vegetables, head to your local nursery to find out what’s in season and suited to your location, climate, soil type, etc. This will give you a better chance of success, especially if it’s your first time planting out your own garden. Most plants will have a tag listing their growing preferences and spacings for mass planting. If they don’t, ask the seller for guidance. Don’t forget to grab a pest repellent while you’re there (get a pet-friendly variety).
While flowers are pretty to plant in a small bed, especially annuals, vegetables can be another matter if you get it wrong. While it might be tempting to ‘go big’, this will limit the amount of product you will be able to harvest – think pumpkins, watermelons, which sprawl and will dominate the garden. The same goes for some herbs, like mint and basil. Keep them in pots, instead. Deep-rooted plants like potatoes are better in the ground. Plants like tomatoes, green leafy veggies, and lots more, can thrive in the right conditions. A quick glance around at the nursery will show you what’s popular at the time of planting.
Start with a layer of coarse organic matter: small branches, prunings, leaves and cardboard or newspaper. It breaks down over time, improves drainage and means you buy less soil. Leave the base open to the ground so worms and drainage work naturally.
Treated pine sleepers screwed at the corners are the cheapest durable option, usually $150 to $350 for a standard bed. Reclaimed timber or pallets cost less again. The biggest saving is filling the bottom third with organic matter rather than bought soil.
Treated pine sleepers using modern ACQ or copper azole treatment are the standard choice and are considered suitable for edible gardens. Hardwood sleepers last longer but cost more. Avoid old railway sleepers (which have often been subjected to diesel spills) and older CCA-treated timber for growing food.
300mm suits herbs and salad greens, 400mm-500mm covers most vegetables including root crops, and 600mm-800mm lets you garden without bending. Deeper beds hold moisture better but cost more to fill.
Potatoes and deep root crops do better in the ground or in bags, corn needs a dense block to pollinate so a single bed rarely works, and pumpkins and melons sprawl too far. Keep mint and other spreading herbs in pots or they will take over the whole bed.
Not if the bed sits directly on soil, since water drains through the open base. If it sits on concrete, paving or a balcony, you need drainage holes or a gravel layer so the bed does not waterlog.
Feeling creative but lacking ideas? We’ve got you covered! Watch our videos and follow the step-by-step instructions to unleash your creativity.


